
Readers – Scroll down for the article
Viewers – Click on the video for an ASL/spoken English walk through of the tutorial content
*None of the links below give me any affiliate perks – just linking to be helpful.*
Quilty Cookies Shameless Brag
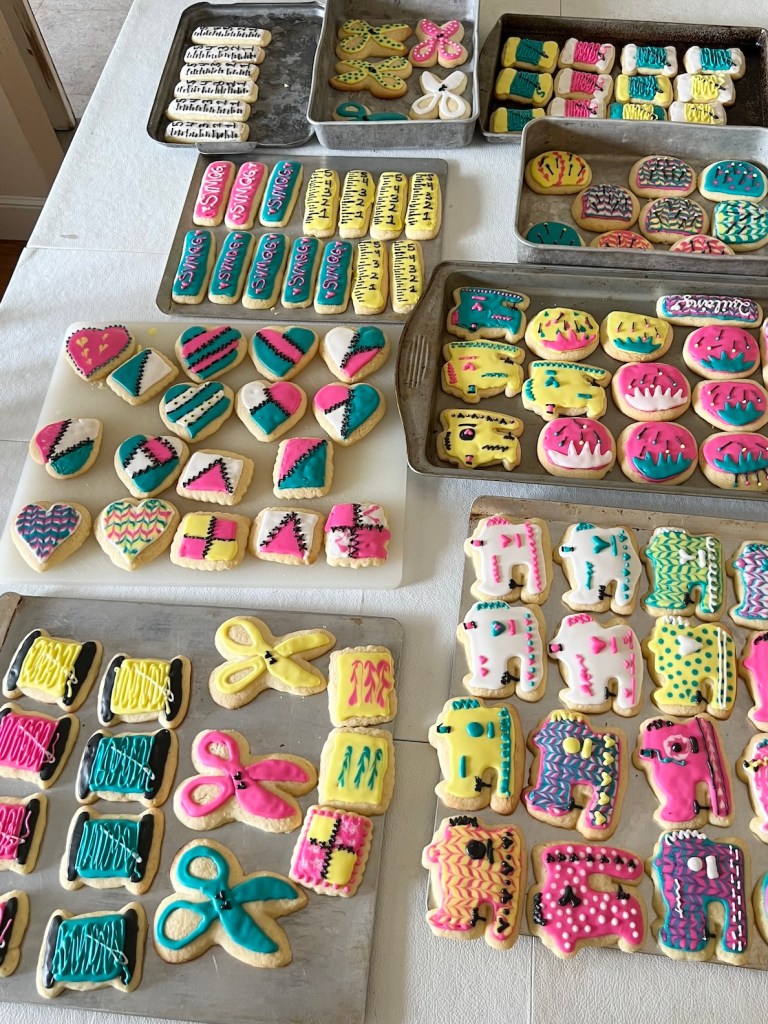
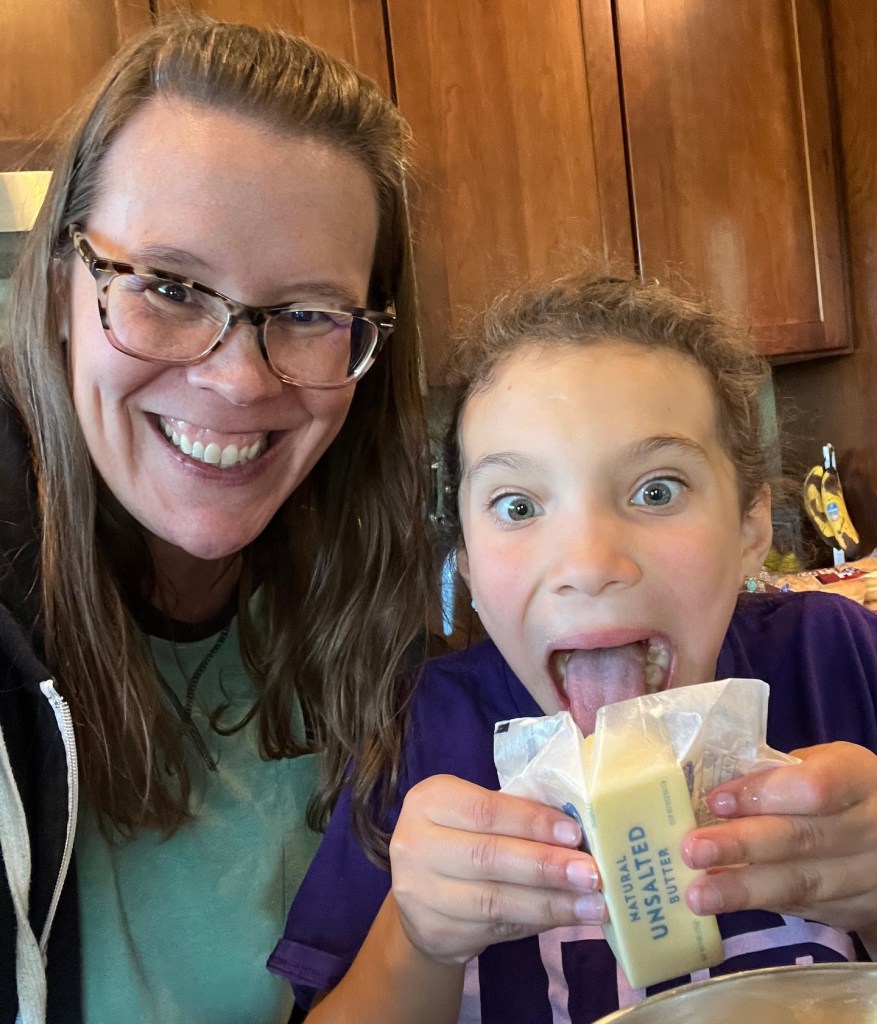
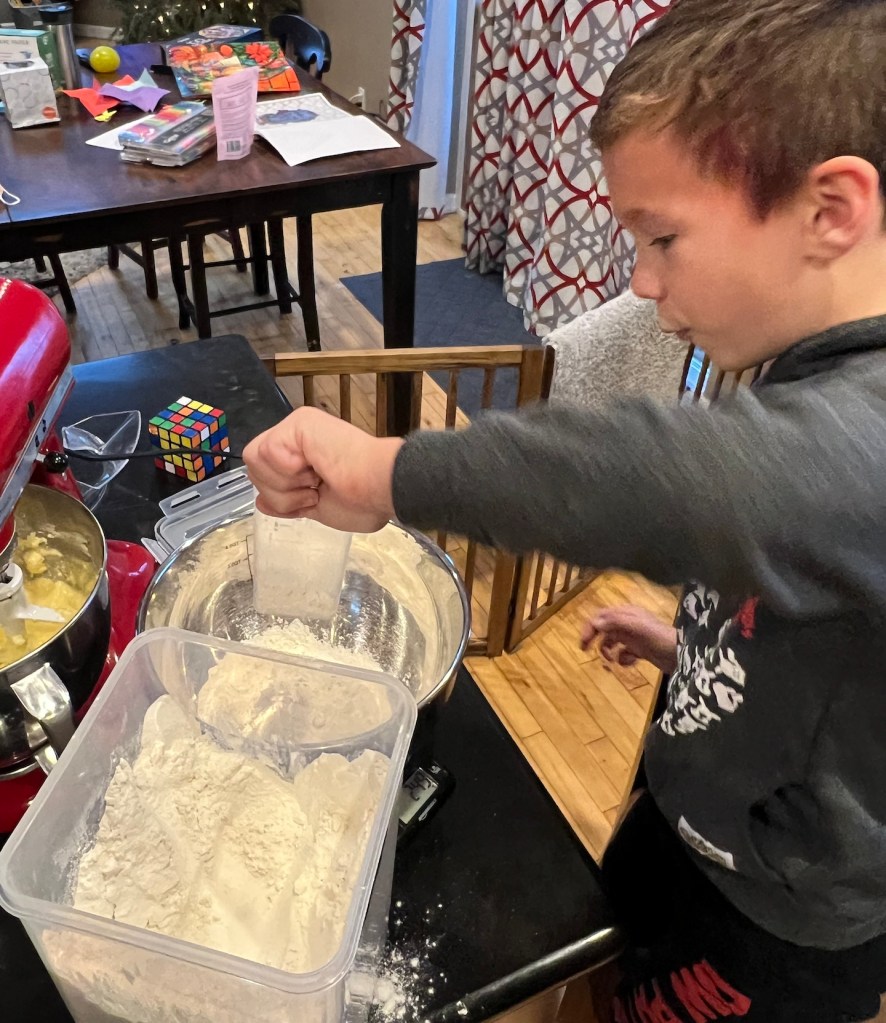
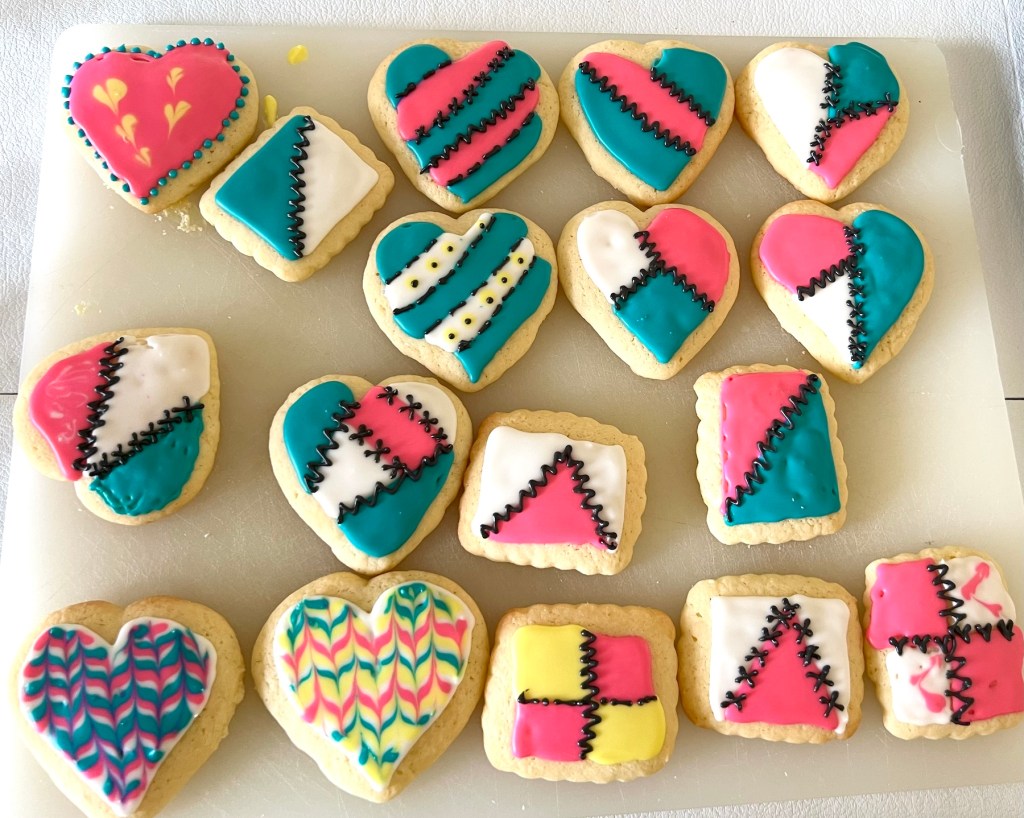
I bake a lot of cookies for school fundraisers or my nieces and nephews (usually with kids which requires patience and a sense of humor). On a whim, I decided to do some for the recent local retreat I went to with the Silicon Valley Modern Quilt Guild. I recruited adult help from my neighbor (thanks, Barb!), and they turned out quite charming. Any time I bake cookies, I often get asked what recipes I use and any tips I have. So I figured I’d put a blog post together that is both cookie and quilting related!
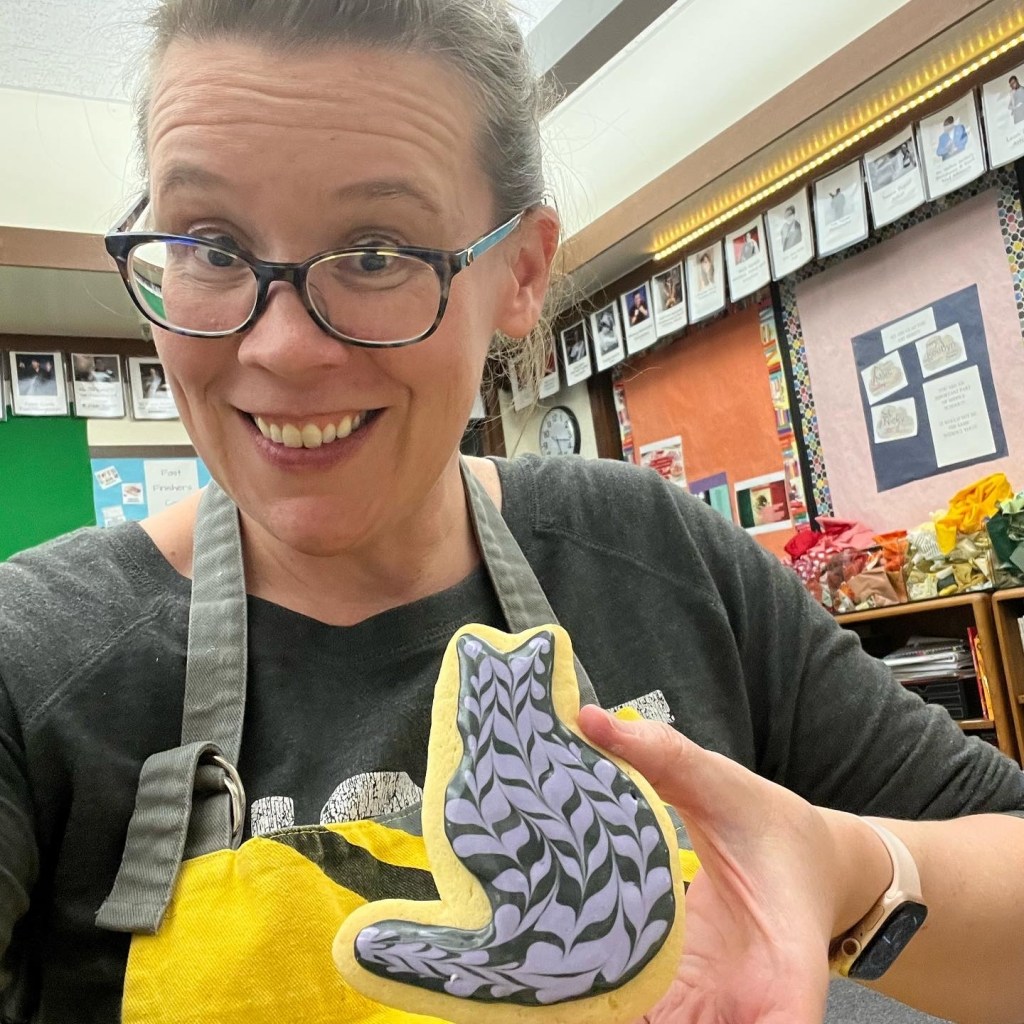
Special thanks to my nieces and nephew who allowed me to make them “lowkey famous” by using their photos for this blogpost.
Amazing Cookies Take Time:
I always make my cookies over a three day process (four if you count the cookie eating day!). Refrigerating the dough overnight (or at least for several hours) makes a huge difference because you’ll need less flour when rolling them out and the texture of the cookies will be better if they go into the oven cold.
Day One: Make the cookie dough/pop it in the fridge.
Day Two: Roll out the cookies; refrigerate the cutout shapes again; bake.
Day Three: Ice them and then let them dry over night out in the open air.
Day Four: Enjoy and share!
Cookie Dough
I’m usually particular about the sources of my recipes. I tested a bunch of sugar cookie recipes. Some I like better than this one if I’m not icing them; but when I ice my sugar cookies, this is my favorite of all the ones I’ve tested. I like it because it’s less sweet than some others (the icing adds a LOT of sweetness). I also think it’s soft and almost cake like structure pairs well with the crispy texture of the royal icing. A lot of people agree with me, so I’ve stuck with it over the years. The recipe post itself has lots of tips and tricks for making them, so definitely check those out.
https://www.allrecipes.com/recipe/10402/the-best-rolled-sugar-cookies/
Usually I get about 45 cookies per single batch using this recipe (varies greatly depending on the size of cookie cutters you’re using). I like to make a double batch because a single batch of the icing (2 lbs confectioner’s sugar) will decorate a double batch (or more) of the cookies. I don’t have trouble finding people to eat them, and I like wasting less icing.
Here are my top 3 tips for making the cookie dough:
**Refrigerate your dough overnight, or at least for several hours until it’s cold all the way through at this point.**
Cookie Cutter Time!
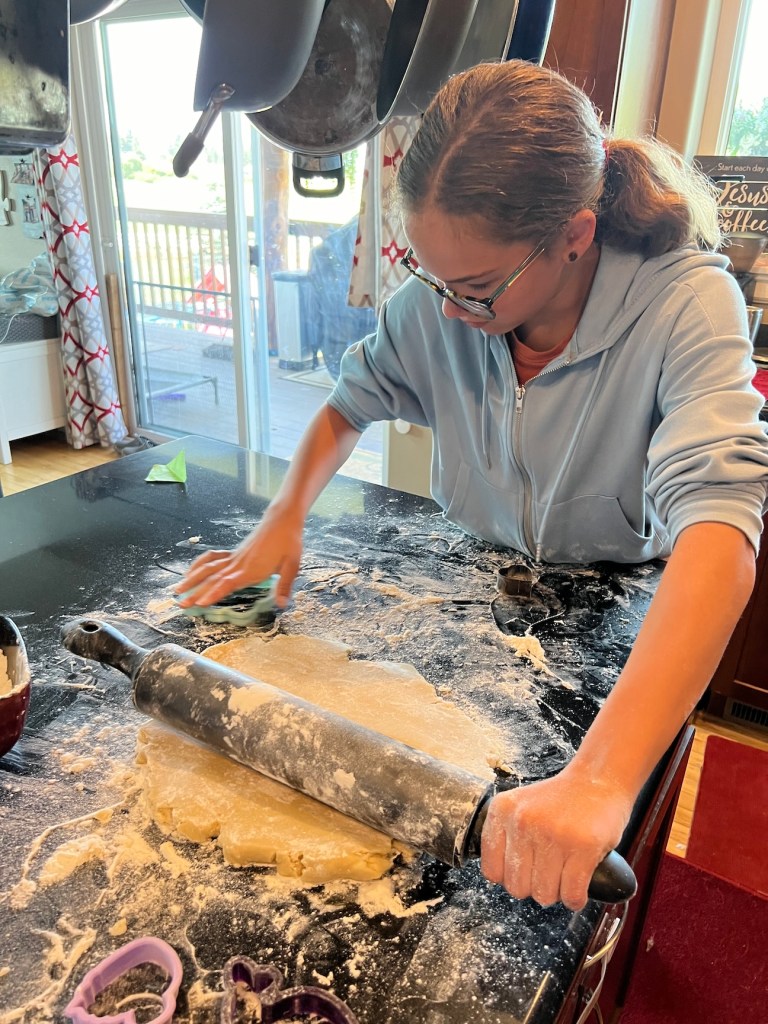
The trick to rolling out the perfect dough slab is to have the dough cold so the cookie cutters go in and pop out cookies easily, but not so cold that it’s impossible to roll out. I usually pull mine out of the fridge before setting everything else up, and it works out pretty good. Sometimes I have to pop the extra dough back in the fridge if the kitchen gets warm and threatens to make the dough warm and melty. Be generous with the flour because it’s really annoying when the cookie dough sticks to your surface and stretches your cookie as you’re pulling it up.
When I bake with my nieces, I use their lovely marble island. At home my counters have individual tiles, so I put an old bath towel folded under a large cutting board. This way, the cutting board makes a smooth cookie surface, and the towel keeps extra flour out of my grout (which is hard to clean up).
Usually I just eyeball the thickness – I aim for a hefty 1/4 inch (5/16′ for my fraction loving friends). In my classroom, I bought this rolling pin from Target to help my less experienced baking friends (aka middle schoolers) get the thickness right.
The more often you roll the dough out, the more flour gets added in, the more the dough is worked, and the warmer the dough is. To combat these less than ideal cookie cutting scenarios (which ultimately negatively affect the cookie appearance and texture), be a cookie cutting pro (not a cookie cutting criminal).
Cookie Cutting Professionals:
- maximize dough use with close placement/tight proximity when cookie cutting
- rotate cutters above the dough before cutting to see if there’s a more efficient way to place them
- use small cookie cutters in the dough scraps before re-rolling (these make great cookie bites and I often don’t worry about icing them)
- roll dough once for the greatest amount/highest quality cookies. Then reroll only once before putting the dough scraps back in the fridge to get cold again (I put these on a plate and add future rolling scraps to the plate and re-roll them all together at the very end).

Cookie Cutting Criminals
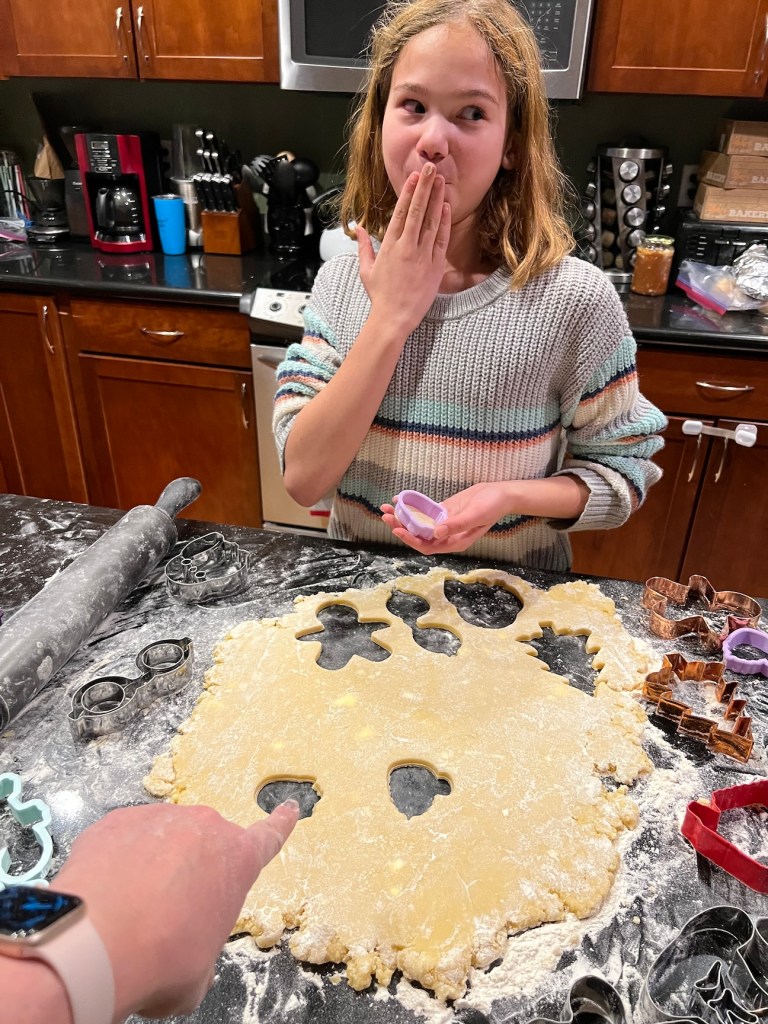
You’re a cookie cutting criminal when you randomly cut cookies out of the center of your dough with no concern about using the dough efficiently. Miki loves to get a rise out of me annually by intentionally doing this – hence the invention of the cookie cutting criminal title.
Rerolling the dough really does change the texture of the cookie – they’ll end up bigger, with less crips edges, and a less pleasant texture (don’t get me wrong – they’re still delicious, but being efficient with the dough is worth the extra effort).
Bake those Cookies!
After you cut out the cookies, put them on a tray and pop them back in the fridge (I can usually get away with stacking them 3 or 4 high for this). You want them to get as cold as possible again. If you want to get a tray into the oven right away after cutting them out, you can arrange them on the tray and put them in the freezer for a couple minutes before baking. Cold cookies will spread less and keep their crisp edge shape better. The recipe I use doesn’t have as crisp of edges as some other recipes, but I use it anyway for the reasons I explained above. This means I need to do what I can to promote good cookie shape and getting them cold helps a lot.
Baking them is where things can go wrong. These are meant to be pale cookies, but you don’t want to serve people cookies with raw or damp cookie centers. My husband swears by crispy “nekkid” (not iced) cookies, but I’m team soft in the center and lightly crisp on the edges.
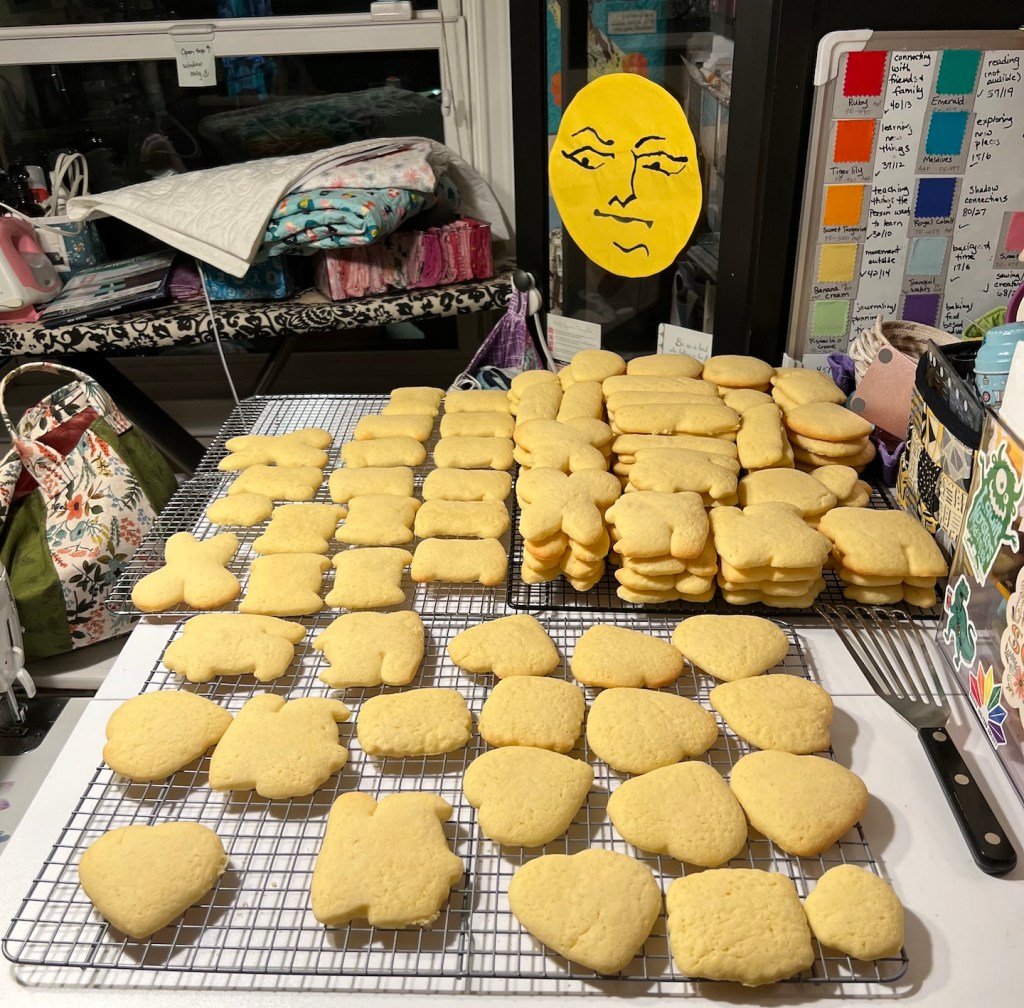
- Bake the trays one at a time (trust me, it’s worth the extra time in baking evenness)
- I try to arrange the thicker (both in dough height and cookie shape) near the edges, and smaller, thinner, or pointier shapes near the center of the tray
- I rotate the tray 180 degrees a little over halfway through the time.
- I take them out when they’re pale but cooked in the center and the edges are just turning golden
- I let them cool as long as possible – don’t stack or put them away until you’re sure they’re completely cool or they’ll stick to each other and become a weird texture.
Adventures in Royal Icing
When I was a kid, we’d mix confectioner’s sugar and milk, add a little food coloring, and paint our cookies. This is messy and the cookies don’t stack (the icing doesn’t completely dry). But it’s also easy, fun for kids, and delicious. Way less likely to trigger your chronic tendonitis like the following “pretty” method.
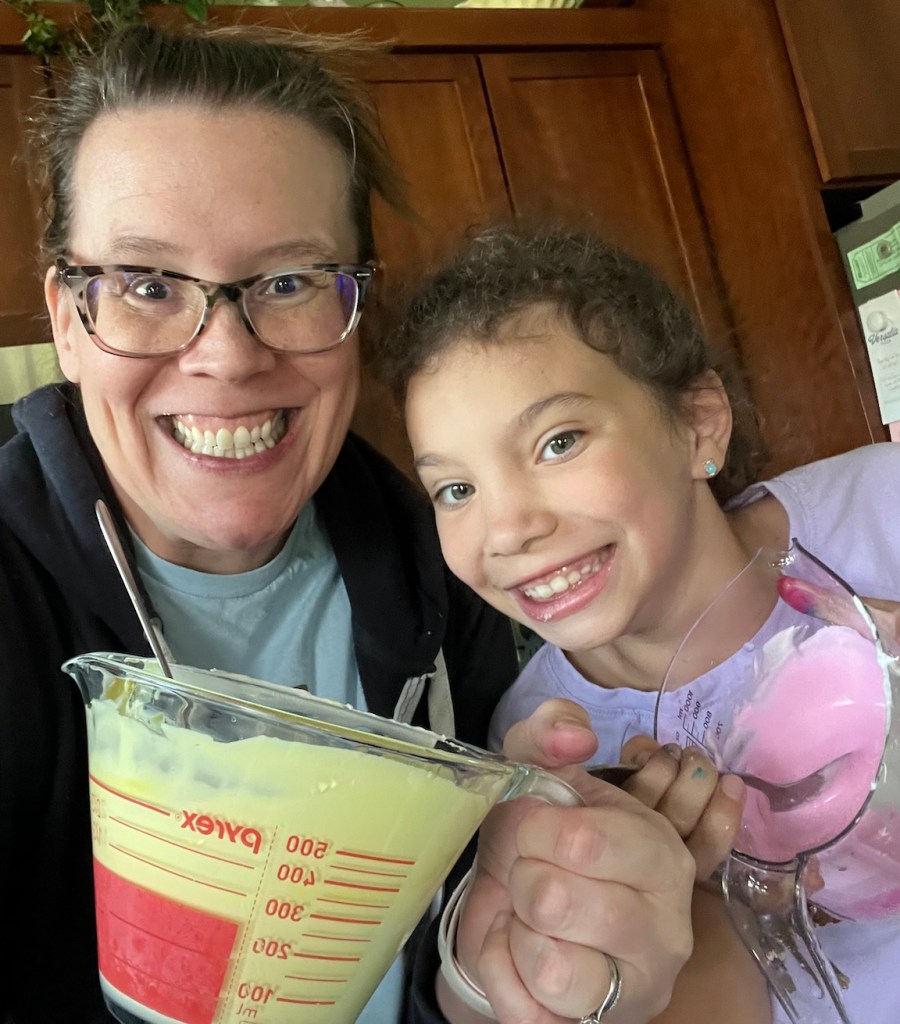
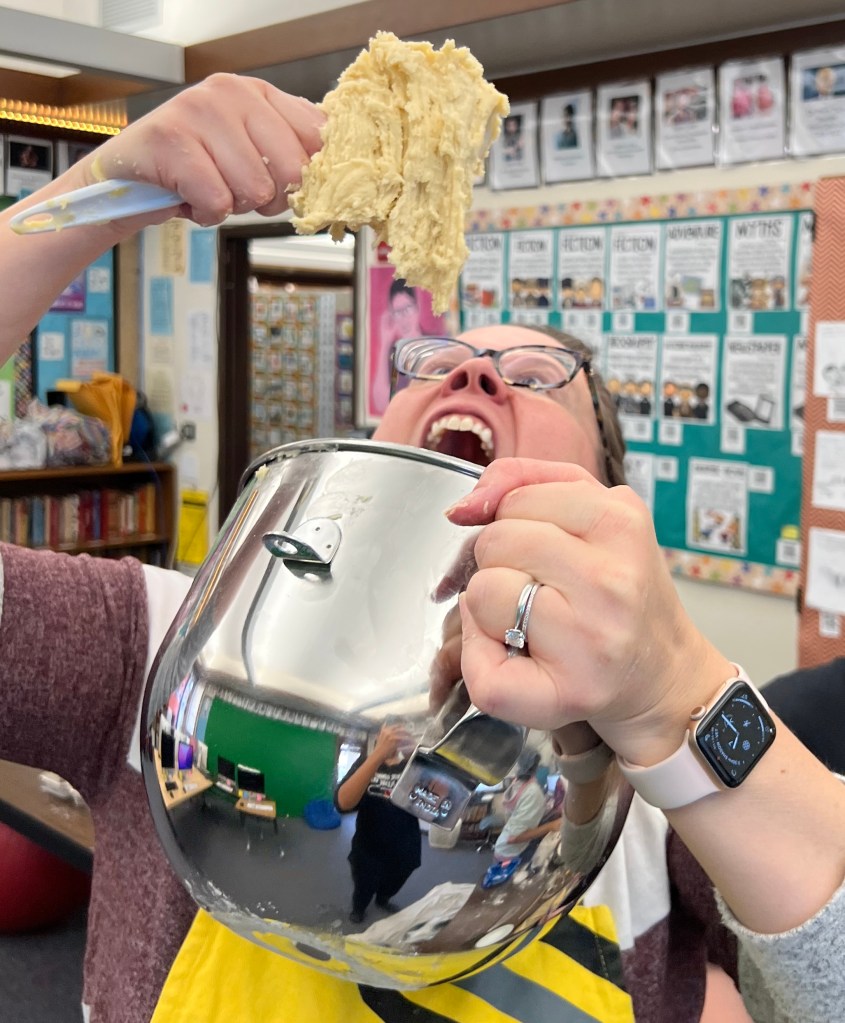
If you want to try royal icing, I highly recommend finding a willing, heavily muscled nearby young person who follows directions well. All three of these critieria are necessary, because mixing icing can be both tricky and muscle fatiguing.
My version of this is my younger niece, Ali, who does team gymnastics and is shockingly strong for her size. She matches me icing color for icing color, and I’m grateful when I can get her help!
Favorite Icing Recipes
For the royal icing I make, I use meringue powder. You can get this at Michael’s (I’ve used both Wilton’s “color flow” and “meringue powder” mixtures pretty successfully. When I use Wilton’s, I always use Sweet Sugar Belle’s recipe.
Recently I’ve been obsessed with Genie’s Dream Premium Meringue Powder. I find it crisper (in a good way) than Wilton’s. I definitely recommend following the directions on the back of the package vs. using the recipe I linked above – it behaves differently. I do tend to add the corn syrup for a little extra shine, but it isn’t necessary. I also use almond extract vs. vanilla most of the time (I like the taste and it doesn’t tint the white icing like vanilla extract can).
Icing Consistencies
Royal icing is categorized by the amount of time it takes drizzled/squiggled icing over the top of the icing bowl to lose its shape and morph back into the whole of the icing pot. I’ve used all kinds of icing consistencies, and my favorites are using a combination of piping icing and 15-20 second icing. Check out this article for tips on making these.
I use the 15-20 second icing for the base of my cookies, let them dry for a couple hours, and then I pipe details on top. It’s amazing how rough and ready base icings can be prettied up with some piped details!
Mixing the icing can be hard work. Give yourself plenty of time to mix all the colors. Add the food coloring first so it doesn’t minutely affect the icing consistency, then add water until you have the consistency you want. If you’ve added color and immediately recognize it’s too thick, add a little water before you have the color completely mixed in – no need to kill your muscles when you know you need to add water anyway. I find using a spray bottle and spraying water on the easiest way to not over add water. I make the piping icing consistency first, bottle it, and then add water for the 15-20 second icing. This keeps the color consistent between my base layers and piping details.
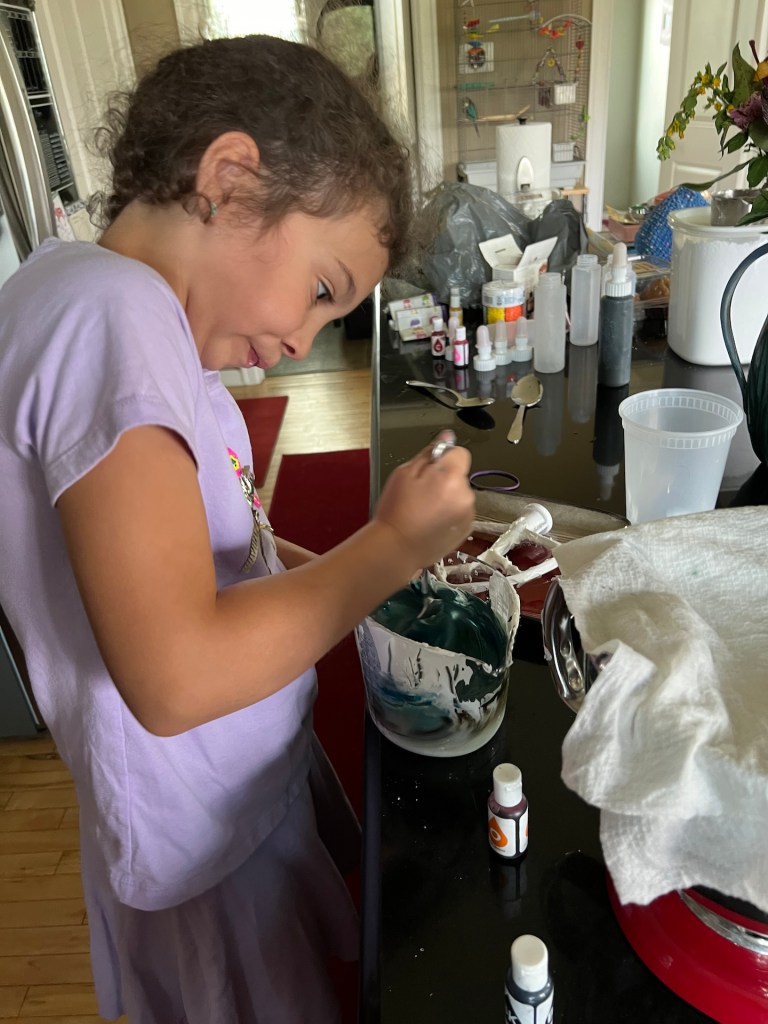
I use Wilton’s Color Right: Performance Color System to color my icing. Highly recommend it for color quality, consistency, and ease of use. You can buy the whole kit to get started and then purchase individual bottles to replace the colors you’ve used up.
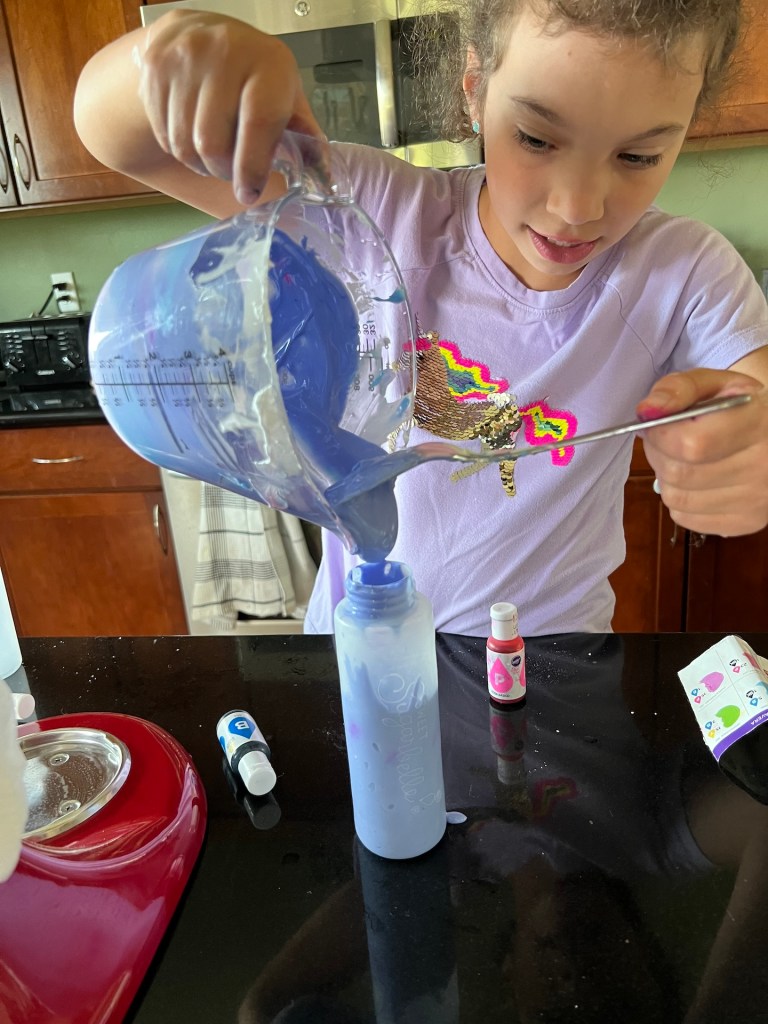
I’ve used paper icing bags, plastic icing bags, reusable icing bags, but I’ve landed on using bottles as the easiest for me (I get mine at Michael’s). For the 15-20 second layer icing, I use a #3 tip. For the piping icing I prefer a #2 tip.
It’s amazing how quickly royal icing dries up and clogs icing tips. So I definitely recommend either tipping the bottles onto a wet paper towel between using them or investing in silicon tops that are easy to pull on and off the bottles to keep the icing fresh.
Decorate those babies!
Cookie decorating is super fun. When I’m decorating cookies with kids, I make them make three or four with me following step by step directions. Then I release them. I find this improves the quality of their future cookies while still keeping things fun and interesting and creatively free for them. Give them techniques, but then let them explore and run wild with or without those techniques.
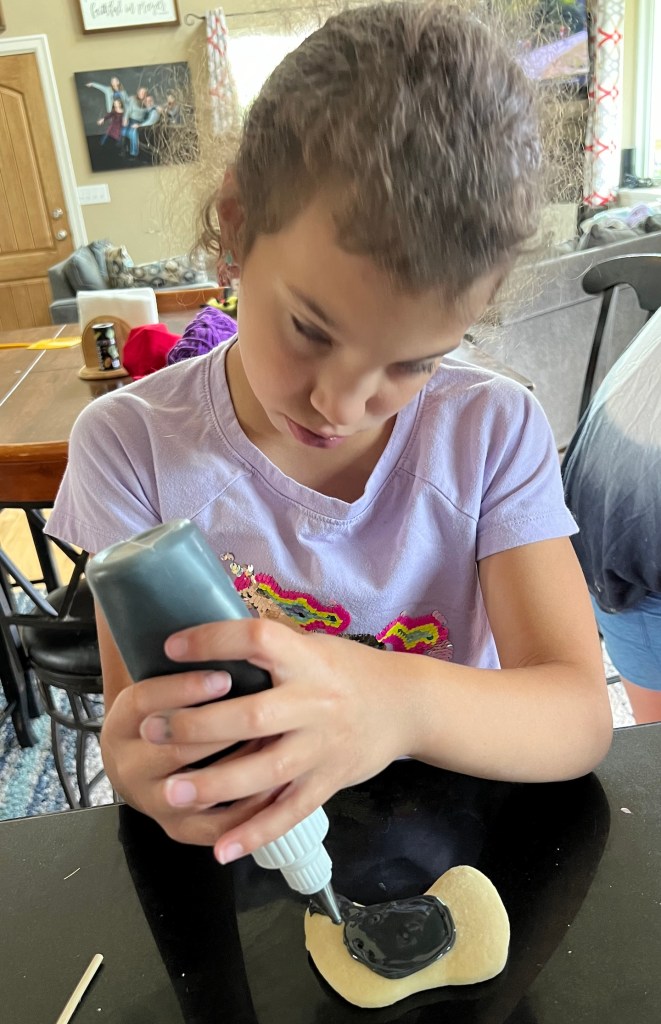
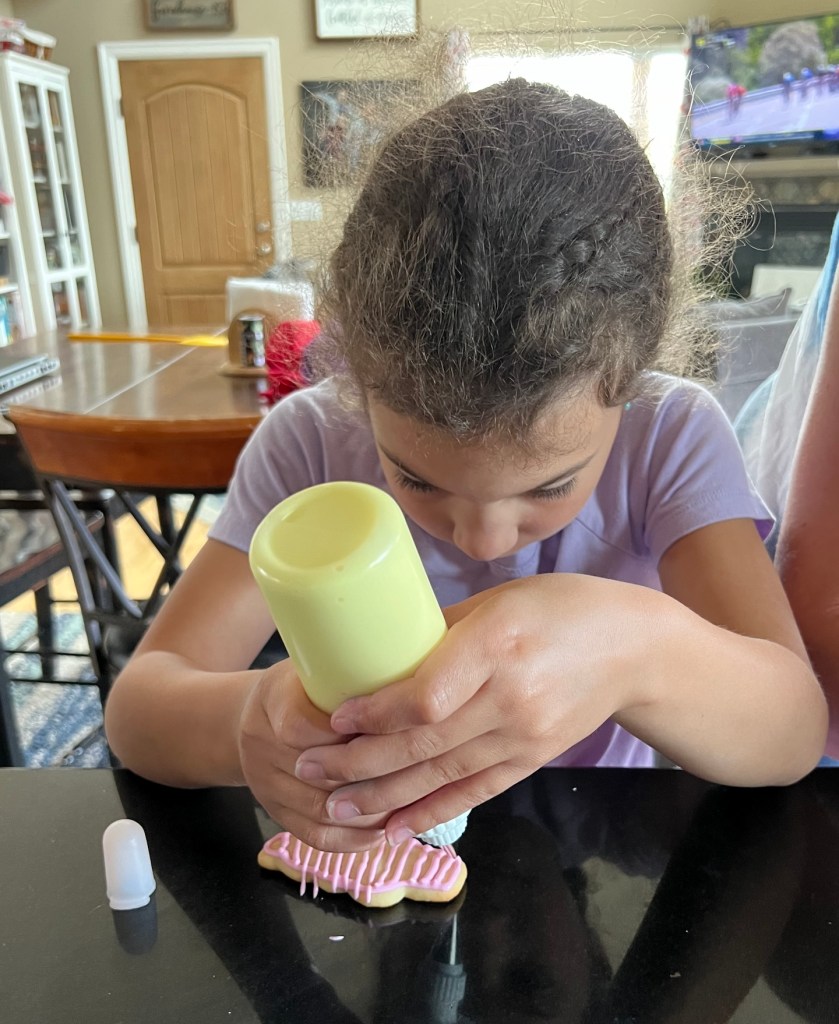
Smooth Base Layer: I have them start with piping a smooth base layer out of 15-20 second icing (single color cookie).
I teach them to trace an outline first, and then fill it using circular motions and steady pressure on the bottle. As you can see from the picture, directions are not always easy to follow (she forgot to pipe an outside outline), but ultimately she got to the same outcome. There’s more than one way to ice a cookie, apparently!
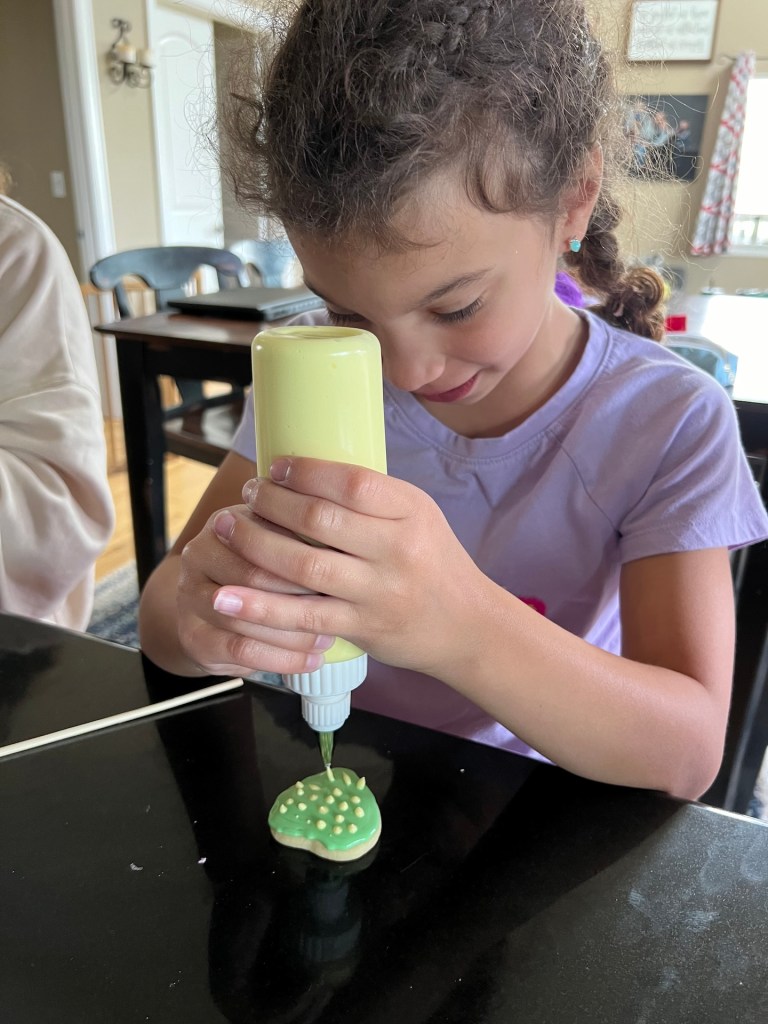
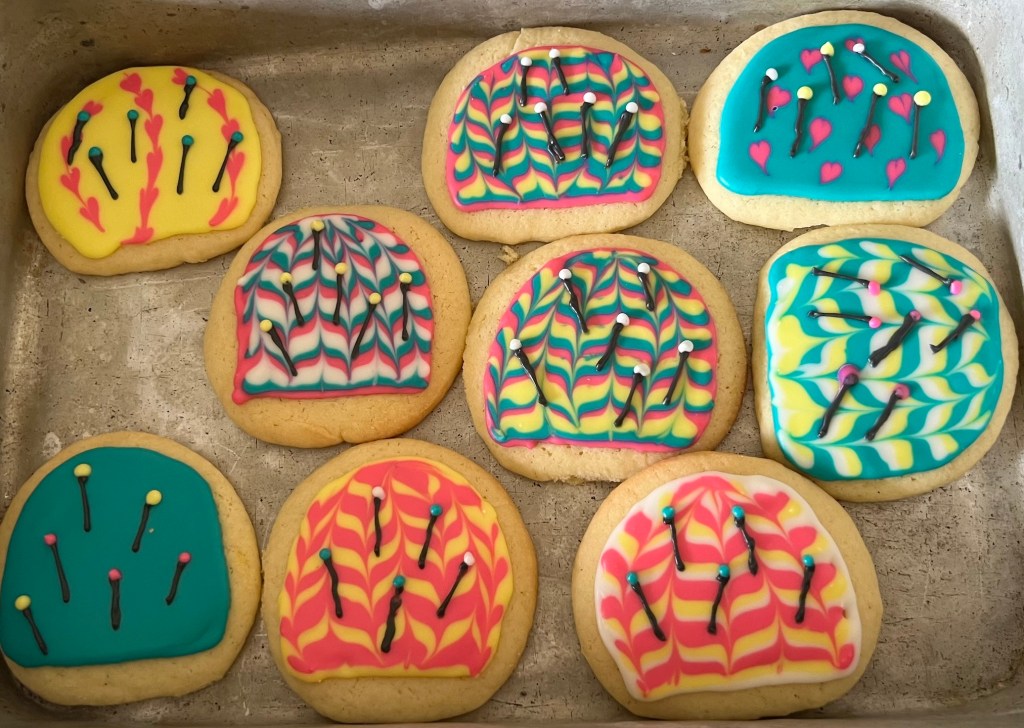
Next we practice adding polka dots to the base layer using 15-20 second icing (these will sink in and become flat with the base layer icing if you add them right away to the wet base layer). The trick is to get the tip of the polka dot (think chocolate chip shape) to finish straight up. If it flops over it loses it’s perfect circle shape.
You can also pipe polka dots on top of dry base icing if you want a textured look.

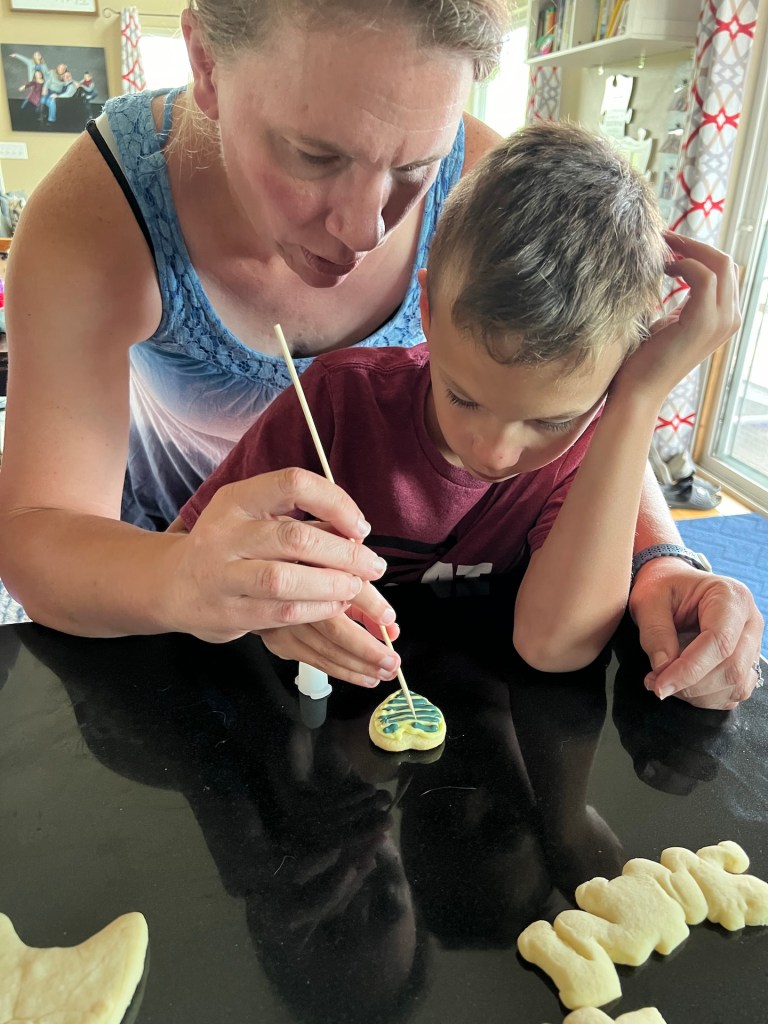
If you run a skewer gently through a perfect polka dot (starting in the base layer and going straight down through the polka dot until you have the extension you want), while the icing is still wet you can make hearts!
In this picture, the toothpick should start in the pink and go through the center of the yellow to make the heart.
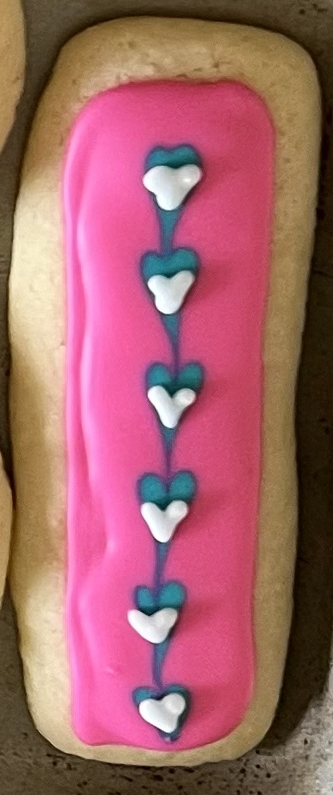

The pink rectangle cookie also shows a chain of hearts embellished with piped hearts in the second step of the process.
You can also do a chain of hearts in a circle that turns out pretty cool.
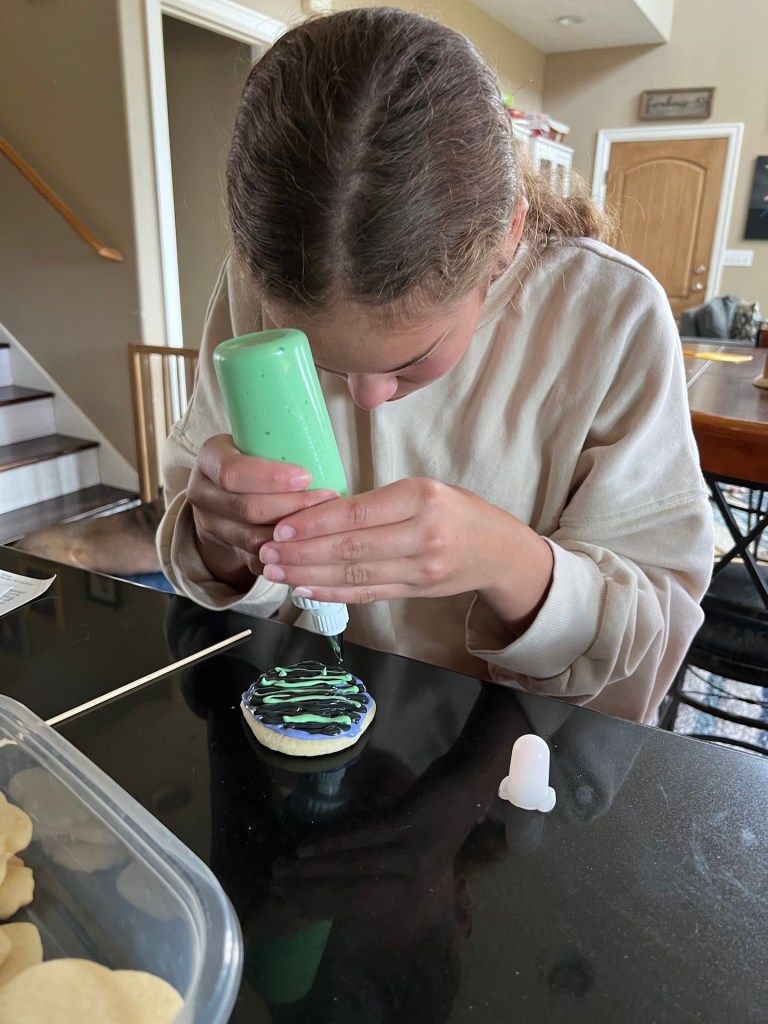
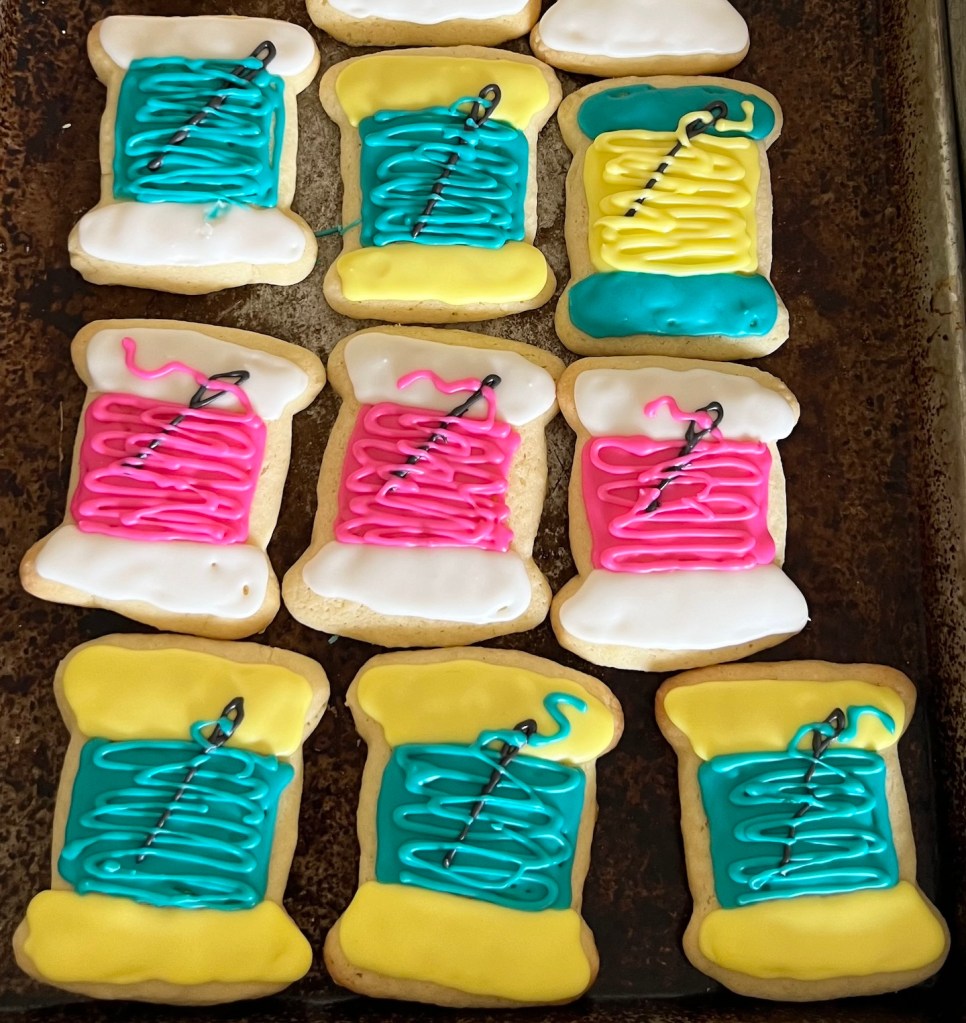
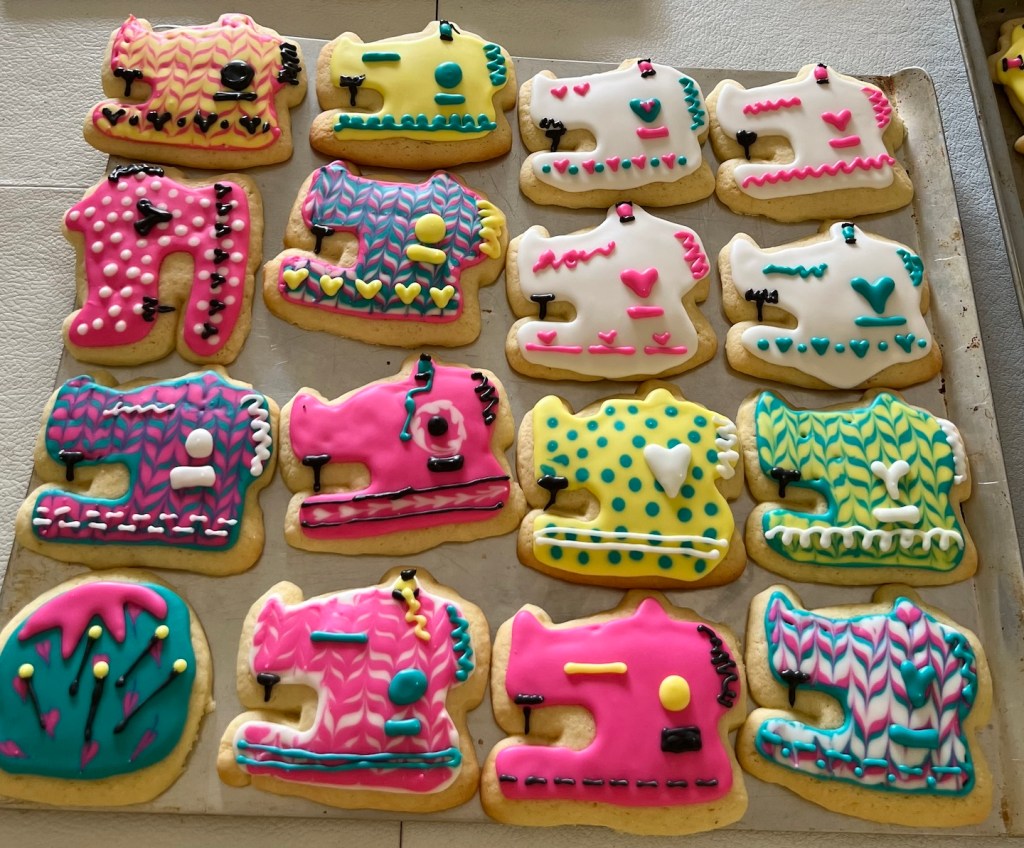
Feathering: The easiest way to make yourself look like a professional is using this icing technique. Do all three steps with the 15-20 second icing:
- Outline your shape and use the same color to create stripes spaced out down the cookie
- Add a second (or third!) color inbetween until the stripes mostly touch each other)
- Start at one side of the cookie and draw a line down across the stripes. Leave about a 1/4″ space between your next line which should be drawn in the reverse direction (up). Keep drawing lines alternating directions until your cookie is fully feathered.
Piping Some Details
Let the cookies dry for an hour or two (longer if you want to be a rule follower). Then add piped details. A lot of times I don’t add a lot of piping because the cookies look cute without. But I’m never sad when I do – it really makes them look more professional! If I’m strategic about it, I’ll create the base layers of cookies I want to pipe first, then decorate cookies I don’t want to pipe. By the time I’m done decorating those cookies, the first set tends to be dry enough to pipe. If you pipe the cookies too early, the piping can run/settle into the cookie instead of sitting pretty on top. In this photo gallery, you can see the piping I added onto cookies (most of the ideas came from sifting through Google image or Pinterest searches).


Dry Them Out
Once you’re done decorating, leave the cookies out for the icing to dry (and the cookie texture to perfect) for as long as it takes (usually overnight at my house). Don’t let any humans or pets eat them while they’re wet. The struggle is real at my sister’s house where everyone cooperates except Poppa (my dad/the kids’ grandfather). Like I tell him – a big part of royal icing’s appeal is the texture, and texture comes with time!
Once they’re dry, they’re stackable, and they last for a decent amount of time if they’re in an air tight container (I’m gonna say people eat them before there’s any noticeable staleness).
Quilting Cookie Cutter Recommendations
These are the cookie cutters I’ve either used above for my quilting related cookies, or ones I’ve recently purchased that didn’t arrive in time, but I’m looking forward to trying them out! Don’t dishwash the 3D printed ones – they will warp and you will be sad. For the metal ones, to avoid them rusting I wash them quickly, rinse them off, and pop them into my hot oven to dry out completely.
- Sewing Machine: Sewing Machine Cookie Cutter – Anne Clark Collection
- Scissors: Scissors Cookie Cutter – Anne Clark Collection
- Thread Spool: Spool of Thread Cookie Cutter – Anne Clark Collection
- Quilt Blocks: Scalloped Rectangular Cookie Cutter
- Heart Quilt Block: not sure, but there are lots of cute heart shaped cookie cutters out there!
- Ordered but haven’t tried yet: Seam Ripper/Rotary Cutter
- Ordered but haven’t tried yet: Sewing Machine – Cookie Cutter Set
- Ordered but haven’t tried yet: Patchwork Cookie Cutter Set
- Alternative to rolling pin linked above: Dough Sticks for Uniform Cookie Dough Height


Leave a comment